We need to keep washed and sanitized terry towels ready for use
as follows.
Soapy Water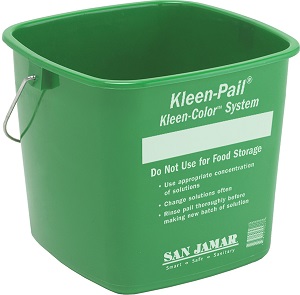
Fill the green Kleen-Pail with soapy water from the dispenser. Hand wash the soiled towels by swishing with your hands.
Bleach Water
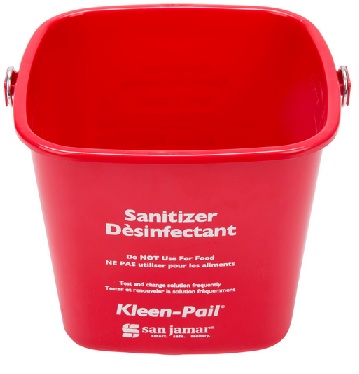
Fill the red Kleen-Pail with bleach and water from the dispenser. Soak the towels in the bleach water to keep them white and to sanitize.
Chili Meat Thawing
Packages of chili meat are take a long time to thaw out. This means that we must at all times make sure there is one or more thawing in the refrigerator. Go check on this and take one out of the freezer if needed.
Steak Thawing
We need to keep a food pan of steaks thawing at all times.
Fryer
Oil Filtering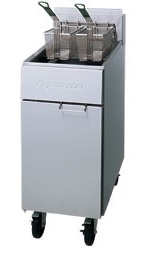
Caution - Allow oil to cool to 160 degrees and wear Neoprene Safety Gloves
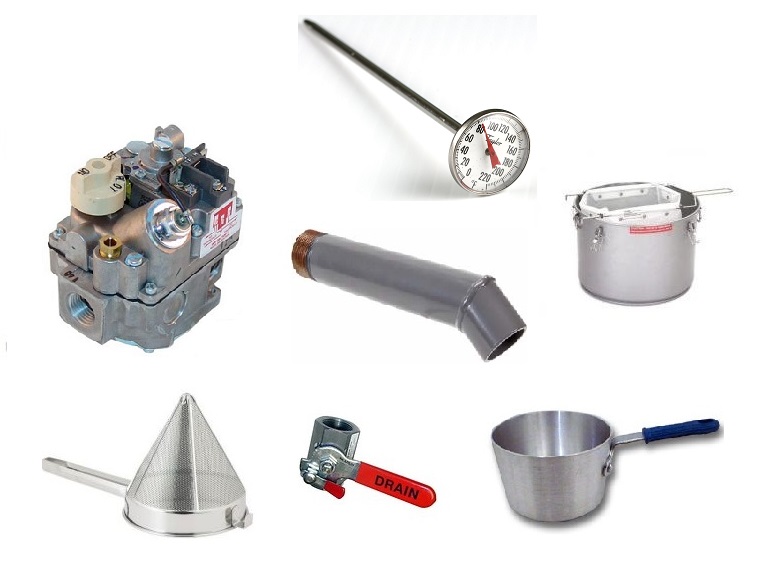
- Open the fryer door and turn the gas control knob to the "PILOT" position. (Some fryers have an on/off)
- Caution! Allow the fryer oil to cool to 160 degrees before continuing with this procedure. Test the temperature with the stemmed food thermometer.
- Wear hot mitts!
- Screw the drainpipe into the valve fitting
- Position the large fryer oil pot into place
- Position filter cone over oil pot directly under drainpipe
- Open drain valve and allow oil to drain out of fryer and into pot
- With drain still in the open position, ladle some oil from the pot back into the fryer to loosen and rinse crumbs and sediment
- CAUTION: Close the drain valve!
- Ladle all remaining oil back into the fryer. CAUTION: LADLE, DO NOT PICK UP AND DUMP THE LARGE FRYER OIL POT UNTIL NEARLY EMPTY!
- Add additional fresh oil as necessary.
- Return fryer to "ON" position.
Fryer Oil Changing
Caution - Allow oil to cool to 160 degrees
and wear Neoprene Safety Gloves


- Open the fryer door and turn the gas control knob to the PILOT position. (Some fryers have an on/off)
- Caution! Allow the fryer oil to cool to 160 degrees before continuing with this procedure -- test the temperature with the stemmed food thermometer.
- Wear hot mitts!
- Position the grease shuttle.
- Screw the drainpipe into the valve fitting
- Open the drain valve and discard the oil into the grease shuttle
- At this point the fryer should be empty -- close the drain valve.
- Spray the inside of the pot including the back-splash with Oven Spray and let stand for 2-3 minutes
- Use metal scrubber to scrub off caked-on caramelized oil that has built up in the pot and on the back-splash
- Fill the fryer vat 3/4ths full with water.
- Use a towel to slosh the Easy Off from inside the fryer pot and back-splash.
- Open the drain and pour several ladle pans full of water into the fryer to flush out remaining crumbs
- Use a dry towel and wipe the inside of the fryer vat dry.
- Fill with fresh oil.
Cold Side
Kitchen Cleaning
During the last hour or so of the shift, use a sanitized towel to methodically clean from one side to the other wiping each item.
- Hand Washing Sink
- Omelet Top Refrigerator
- Refrigerator
- Freezer
- Prep Table
- Microwaves
Hot Side
Kitchen Cleaning
During the last hour or so of the shift, use a sanitized towel to clean the cook line from one side to the other.
- Toaster and toaster Table
- Syrup Warmer
- Egg Stoves
- Grill
- Empty Grill Tray

- Grill board
- Separator between Griddle and Fryer
- Soup Stove and Table
- Stainless steel back wall using Microfiber Mop.
Grill Cleaning Instructions
 IMPORTANT
NOTICE TO COOKS AND SERVERS
We don't close the grill to clean it. Closing the grill will kill off business during that time everyday. So never tell customers or the server, the grill is "closed" for cleaning. Just quickly clean the grill between orders and get it back into operation without saying anything.
1st & 2nd Shift Method - Lard and Grill-Pad Cleaning Method 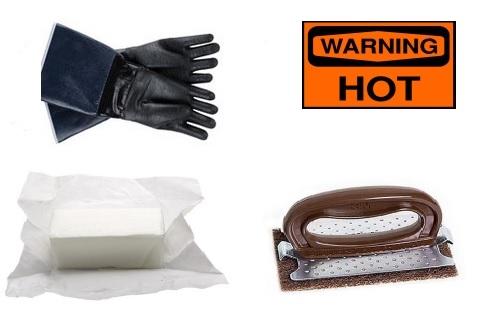
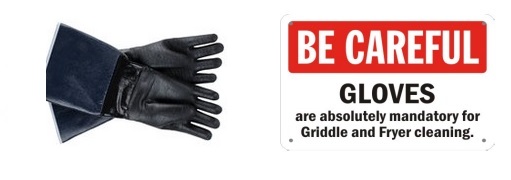
Caution - Wear Neoprene Safety Gloves
- Apply small amount of lard to grill
- Use the "grill pad with handle"
- Scrub forward and backward until all surfaces, including the corners and sides of the grill are shiny clean
- Place a "grill screen" under the grill pad and polish the surface
- Scrape any remaining lard from the grill
- Wipe the grill with the grill pad
- Empty grease pan under grill into bucket in back and wash grease pan
- Wipe the stainless sides around grill.
3rd Shift Method - Scotch Brite Liquid Cleaning Method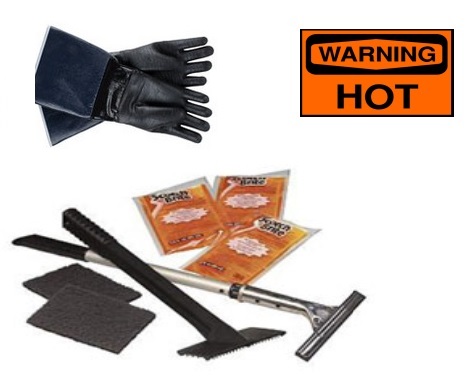
Caution - Wear Neoprene Safety Gloves
- Attach the pad to the long handled pad holder
- Pour the contents of one packet of Scotch Brite Quick Clean Griddle Liquid evenly over the hot grill
- Spread liquid around the surface of the grill, the grill sides, and grill back using pad on pad holder
- Use moderate pressure to scour away burnt-on food
- Using the long handled squeegee, scrape the liquid into the grease trap
- Wipe the surface thoroughly with a damp towel
- Rinse the towel out and wipe clean a second time
- To prevent the grill surface from sticking, melt a tiny bit of lard on the grill.
- Place a "grill screen" under the grill pad and polish the surface
- Use a clean dry towel and wipe off excess lard on the grill
- Empty grease pan under grill into bucket in back and wash grease pan
- Run pad holder, the pad, and the squeegee through the dishwasher.
Sweep 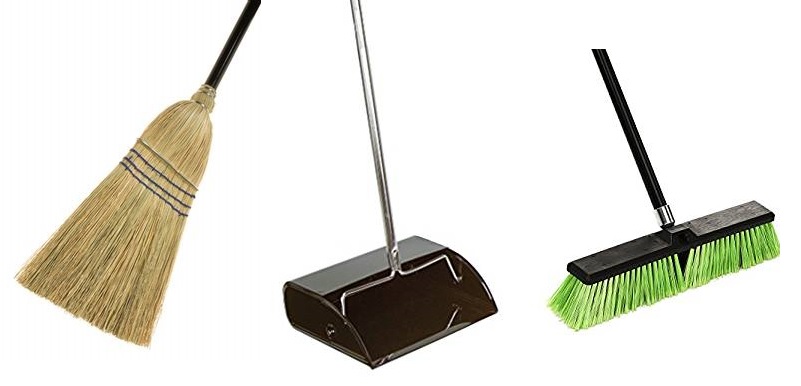
Sweep the floors and spot mop as needed.
Empty the Garbage
Just before end of shift, empty the rubbish container, tie the bag and take to the dumpster.
Dishes and
Dish Machine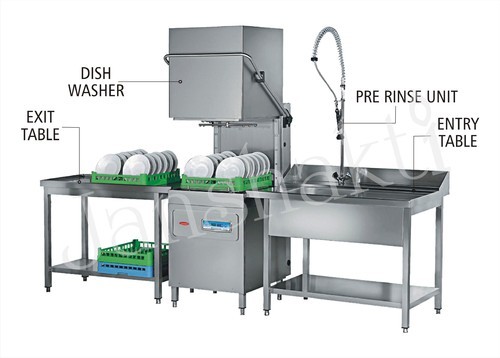
- Finish the dishes at the end of the shift and put them away.
- Pull the "scrap tray" and empty it
- Wipe down dishwasher tables and overhead racks
- Empty the silverware soak tray and refill it
- Empty and refill the green Kleen-Pail with soapy water from the dispenser.
- Empty and refill the red Kleen-Pail with bleach and water from the dispenser.
- Hang wet towels to dry for reuse later
